WEB上からPythonを動かすには、Pythonが稼働するAPサーバーが必要となります。
有名なものは
NGINX Unit
uWSGI
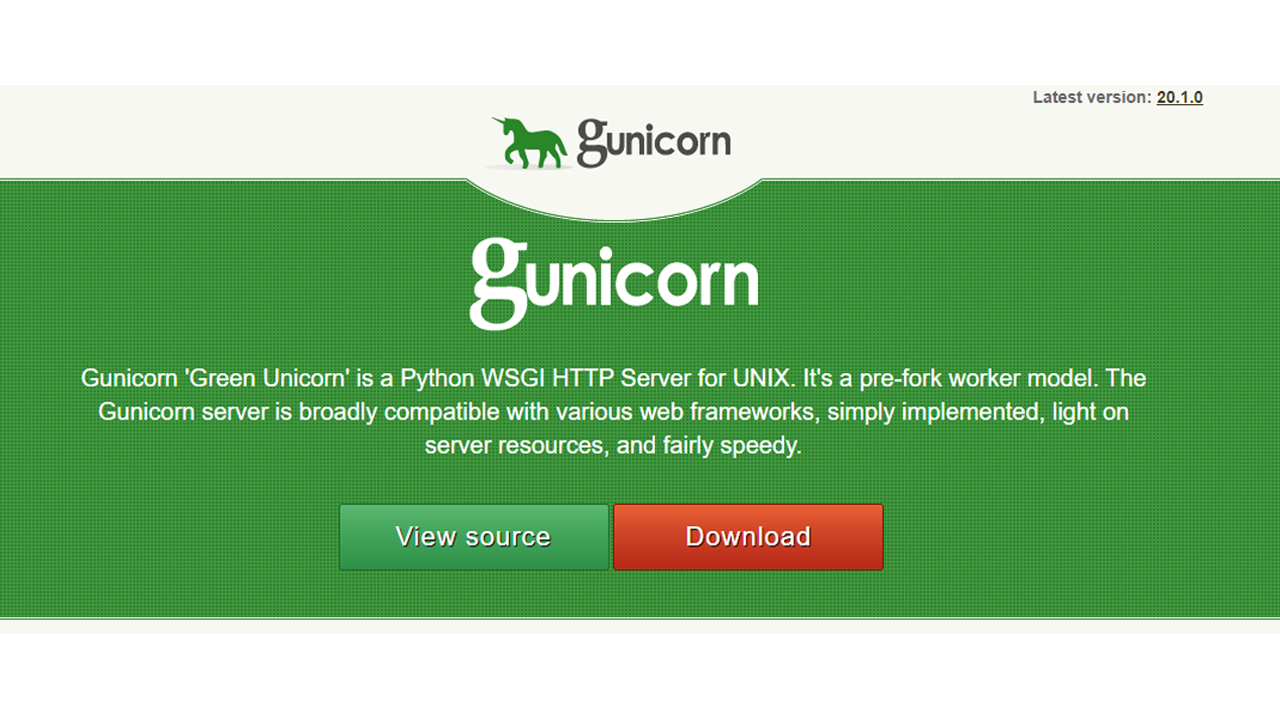
Gunicorn
でしょうか・・・
これらのソフトで、Pythonプログラムを動かします。
# cat /etc/almalinux-release
AlmaLinux release 8.4 (Electric Cheetah)
↑今回、AlmaLinux 8.4 に「Gunicorn」を設定します。
Python APサーバー、uWSGI
WEB上からPythonを動かすには、Pythonが稼働するAPサーバーが必要となります。有名なものはNGINX UnituWSGIGunicornでしょうか・・・これらのソフトで、Pythonプログラムを動かします。今回は、「uWSGI」...
server-recipe.com
2021.09.04
↑「uWSGI」の設定です。
Python APサーバー、NGINX Unit
WEB上からPythonを動かすには、Pythonが稼働するAPサーバーが必要となります。有名なものはNGINX UnituWSGIGunicornでしょうか・・・これらのソフトで、Pythonプログラムを動かします。↑「uWSGI」は、上...
server-recipe.com
2021.09.04
↑「NGINX Unit」の設定です。
仮想環境
# useradd test03
# su - test03
[test03 ~]$ virtualenv venv
Using base prefix '/usr'
New python executable in /home/test03/venv/bin/python3.6
Also creating executable in /home/test03/venv/bin/python
Installing setuptools, pip, wheel...done.

[test03 ~]$ source venv/bin/activate
↑「test03」というユーザを作り、仮想環境を作成し、入ります。
Gunicorn インストール
(venv) [test03 ~]$ pip3 install gunicorn
Collecting gunicorn
  Downloading gunicorn-20.1.0-py3-none-any.whl (79 kB)
     |■■■■■■■■■■■■■■■■| 79 kB 5.8 MB/s
Requirement already satisfied: setuptools>=3.0 in ./venv/lib/python3.6/site-packages (from gunicorn) (57.4.0)
Installing collected packages: gunicorn
Successfully installed gunicorn-20.1.0
↑Gunicorn が入りました。
プロジェクト作成
(venv) [test03 ~]$ django-admin startproject mysite
(venv) [test03 ~]$
(venv) [test03 ~]$ cd mysite/
(venv) [test03 mysite]$ vi wsgi00.py

def app(environ, start_response):
    """Simplest possible application object"""
    data = b'Hello, World!\n'
    status = '200 OK'
    response_headers = [
        ('Content-type', 'text/plain'),
        ('Content-Length', str(len(data)))
    ]
    start_response(status, response_headers)
    return iter([data])
↑「wsgi00.py」というファイルを作成します。
このサンプルは、公式サイトの

Gunicorn
docs.gunicorn.org
にあるものです。
「mysite」ディレクトリ以下(プロジェクトのディレクトリ以下)にファイルを作成します。
Gunicorn 起動
Gunicorn 起動方法その1
(venv) [test03 mysite]$ gunicorn wsgi00:app
[2021-XX-XX XX:09:17 +0900] [2200] [INFO] Starting gunicorn 20.1.0
[2021-XX-XX XX:09:17 +0900] [2200] [INFO] Listening at: http://127.0.0.1:8000 (2200)
[2021-XX-XX XX:09:17 +0900] [2200] [INFO] Using worker: sync
[2021-XX-XX XX:09:17 +0900] [2203] [INFO] Booting worker with pid: 2203
↑起動コマンドの「gunicorn wsgi00:app」は、
「wsgi00.py」ファイルの中の「app」という指定です。
プロジェクトのディレクトリ「mysite」以下で実行をします。
Gunicorn 起動方法その2
(venv) [test03 mysite]$ cd ..
(venv) [test03 ~]$ gunicorn mysite.wsgi00:app
[2021-XX-XX XX:48:42 +0900] [2593] [INFO] Starting gunicorn 20.1.0
[2021-XX-XX XX:48:42 +0900] [2593] [INFO] Listening at: http://127.0.0.1:8000 (2593)
[2021-XX-XX XX:48:42 +0900] [2593] [INFO] Using worker: sync
[2021-XX-XX XX:48:42 +0900] [2596] [INFO] Booting worker with pid: 2596
↑一つ上のディレクトリで、
gunicorn [プロジェクト名].wsgi00.app
という形式でもでも大丈夫
# curl -i localhost:8000
HTTP/1.1 200 OK
Server: gunicorn
Date: XXX, XX XXX 2021 XX:XX:26 GMT
Connection: close
Content-type: text/plain
Content-Length: 14

Hello, World!
↑起動確認ができました。
Gunicorn 自動起動

Gunicorn
docs.gunicorn.org
↑公式サイトでの解説です
[root@ ~]# vi /etc/systemd/system/gunicorn.service

[Unit]
Description=gunicorn daemon
Requires=gunicorn.socket
After=network.target

[Service]
Type=notify
# the specific user that our service will run as
User=test03
Group=test03
# another option for an even more restricted service is
# DynamicUser=yes
# see http://0pointer.net/blog/dynamic-users-with-systemd.html
RuntimeDirectory=gunicorn
WorkingDirectory=/home/test03/mysite
ExecStart=/home/test03/venv/bin/gunicorn wsgi00:app
ExecReload=/bin/kill -s HUP $MAINPID
KillMode=mixed
TimeoutStopSec=5
PrivateTmp=true

[Install]
WantedBy=multi-user.target
[root ~]# vi /etc/systemd/system/gunicorn.socket


[Unit]
Description=gunicorn socket

[Socket]
ListenStream=/run/gunicorn.sock
# Our service won't need permissions for the socket, since it
# inherits the file descriptor by socket activation
# only the nginx daemon will need access to the socket
#SocketUser=www
# Optionally restrict the socket permissions even more.
# SocketMode=600

[Install]
WantedBy=sockets.target
↑2つのサービスを設定します。
# systemctl start gunicorn.socket
# systemctl start gunicorn.service
↑Gunicorn の2つのサービスを起動させます。
今回は、ソケットでの設定です。
# curl --unix-socket /run/gunicorn.sock http
Hello, World!
↑ソケットを指定して、起動確認ができました。
nginxとの連携 Gunicorn
http {
    server {
        listen       80;
        server_name  localhost;

        location / {
            root   html;
            proxy_pass http://unix:/run/gunicorn.sock; ※
            index  index.html index.htm;
        }
    }

}
↑※を追加追加します。ソケット接続の例です。
# lynx http://localhost/
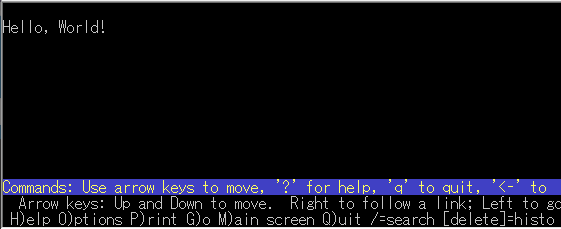
↑起動が確認されました。