WEB上からPythonを動かすには、Pythonが稼働するAPサーバーが必要となります。
有名なものは
NGINX Unit
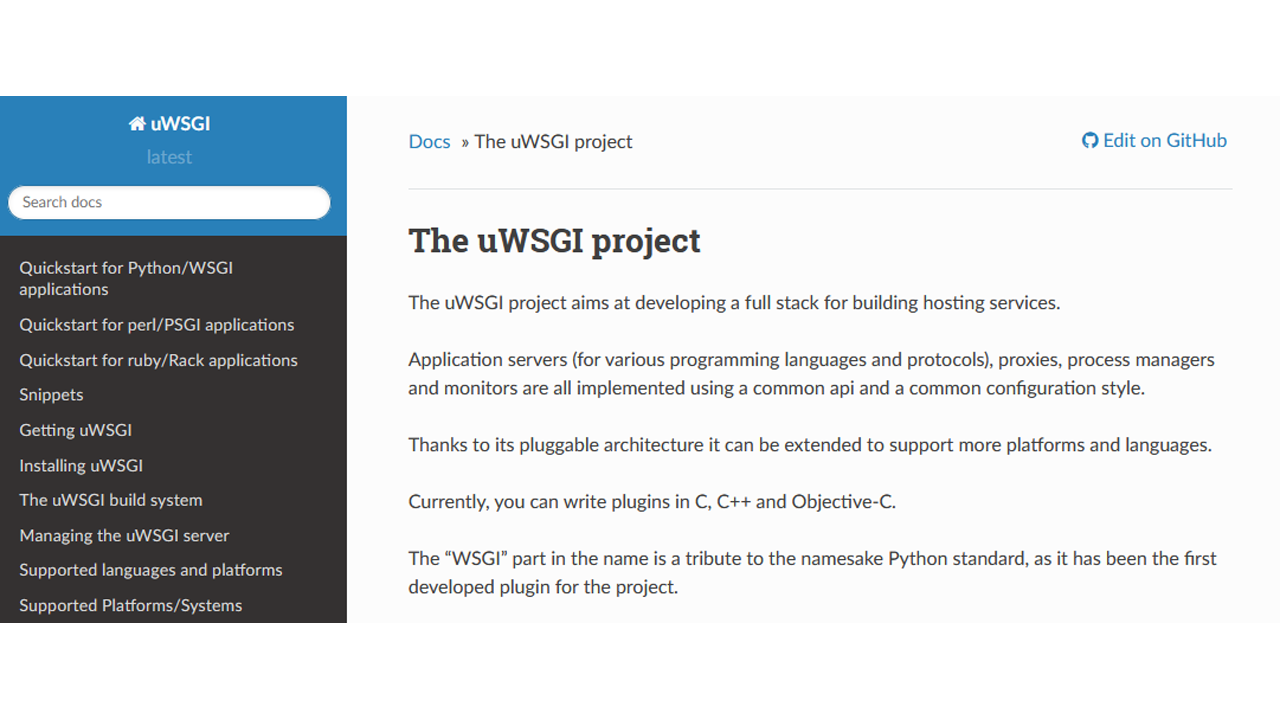
uWSGI
Gunicorn
でしょうか・・・
これらのソフトで、Pythonプログラムを動かします。
今回は、「uWSGI」です。
↑ 「Nginx Unit」は、上記の記事を

↑「Gunicorn」の記事です。
# cat /etc/almalinux-release
AlmaLinux release 8.4 (Electric Cheetah)
↑今回、AlmaLinux 8.4 にインストールをします。
Python 仮想環境
# dnf install python3-virtualenv
↑ 仮想環境インストールします。
# useradd test02
# su - test02
↑ユーザを作成して、このユーザになります。
$ virtualenv venv
Using base prefix '/usr'
New python executable in /home/test02/venv/bin/python3.6
Also creating executable in /home/test02/venv/bin/python
Installing setuptools, pip, wheel...done.
↑仮想環境を作成します。
[test02 ~]$ source venv/bin/activate

(venv) [test02 ~]$
↑仮想環境に入ります
uWSGI インストール
(venv) [test02 ~]$  pip3 install uwsgi
Collecting uwsgi
  Downloading uWSGI-2.0.19.1.tar.gz (803 kB)
     |■■■■■■■■■■■■■■■■| 803 kB 30.7 MB/s
Building wheels for collected packages: uwsgi
  Building wheel for uwsgi (setup.py) ... done
  Created wheel for uwsgi: filename=uWSGI-2.0.19.1-cp36-cp36m-linux_x86_64.whl size=473467 sha256=c026c8512e6fa4c062783315801e21cb6e250ee879a4454bb2635a3373418a31
  Stored in directory: /home/test02/.cache/pip/wheels/3a/7a/c1/492f02e0cde1e39f8b75c79dc5ef3b7e2c93b02e3a7eaabe0c
Successfully built uwsgi
Installing collected packages: uwsgi
Successfully installed uwsgi-2.0.19.1

(venv) [test02 ~]$ uwsgi --version
2.0.19.1
↑uWSGIが入りました。
(venv) [test02 ~]$ which uwsgi
~/venv/bin/uwsgi
↑uWSGIは、該当ユーザ以下に実行ファイルがあります
uWSGI 実行時の基本設定
プロジェクト作成
(venv) [test02@ ~]$ django-admin startproject mysite
↑「mysite」というプロジェクトを作成します
(venv) [test02 ~]$ cd mysite/
iniファイル作成
(venv) [test02 mysite]$ vi mysite/uwsgi.ini

[uwsgi]
module = wsgi:application

master = true
processes = 5

wsgi-file = wsgi.py

uid = test02
gid = test02

http=0.0.0.0:8080
↑iniファイルを作成します
(venv) [test02mysite]$ vi wsgi.py

def application(environ, start_response):
   start_response('200 OK', [('Content-Type', 'text/html')])
   return (b"<h1>Hello uWSGI</h1>")
↑「wsgi.py」というファイルを作成しておきます。
「.ini」ファイルの「wsgi-file」で指定をしたファイル名になります。
uwsgi起動
(venv) [test02 ~]$ uwsgi --ini testapp/uwsgi.ini
↑.iniファイルを指定して、uWSGIを起動します。
# lynx http://localhost:8080/
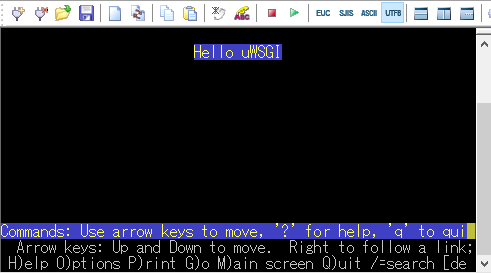
↑うまく、起動したようです。
uwsgi起動時スレッド指定
Python version: 3.6.8 (default, May 24 2021, 08:40:28)  [GCC 8.4.1 20200928 (Red Hat 8.4.1-1)]
*** Python threads support is disabled. You can enable it with --enable-threads ***
↑起動時のメッセージです。
pythonのスレッドをサポートするよ。
ということで・・・
[uwsgi]
module = wsgi:application

master = true
processes = 5

wsgi-file = testapp/wsgi.py

uid = test02
gid = test02

enable-threads = true
threads = 4

http=0.0.0.0:8080
↑iniファイルを更新します。
enable-threads = true
threads = 4
↑上記の2行を入れて、スレッドの設定を加えてみます。
Python version: 3.6.8 (default, May 24 2021, 08:40:28)  [GCC 8.4.1 20200928 (Red Hat 8.4.1-1)]
Python main interpreter initialized at 0xa52c80
python threads support enabled
↑起動メッセージが変わりました。
pcreライブラリサポート
!!! no internal routing support, rebuild with pcre support !!!
↑上記のメッセージが表示されたら
# dnf install pcre-devel
↑ライブラリを入れます
(venv) [test02]$ pip3 uninstall uwsgi
Found existing installation: uWSGI 2.0.19.1
Uninstalling uWSGI-2.0.19.1:
  Would remove:
    /home/test02/venv/bin/uwsgi
    /home/test02/venv/lib/python3.6/site-packages/uWSGI-2.0.19.1.dist-info/*
    /home/test02/venv/lib/python3.6/site-packages/uwsgidecorators.py
Proceed (Y/n)? y
  Successfully uninstalled uWSGI-2.0.19.1
↑一度、uwsgiを削除します(アンインストールします)
(venv) [test02]$ pip3 install uwsgi -I --no-cache-dir
Collecting uwsgi
  Downloading uWSGI-2.0.19.1.tar.gz (803 kB)
     |■■■■■■■■■■■■■■■■| 803 kB 14.7 MB/s
Building wheels for collected packages: uwsgi
  Building wheel for uwsgi (setup.py) ... done
  Created wheel for uwsgi: filename=uWSGI-2.0.19.1-cp36-cp36m-linux_x86_64.whl size=508975 sha256=5796738729498bd0ca51c412cbf57346312a74502cf45199ded34e77a6f42803
  Stored in directory: /tmp/pip-ephem-wheel-cache-99c_pjye/wheels/3a/7a/c1/492f02e0cde1e39f8b75c79dc5ef3b7e2c93b02e3a7eaabe0c
Successfully built uwsgi
Installing collected packages: uwsgi
Successfully installed uwsgi-2.0.19.1
↑これで、
!!! no internal routing support, rebuild with pcre support !!!
というメッセージが出なくなりました。
「 -I –no-cache-dir」のオプションが重要です。
/home/test02/mysite/manage.py
                   /wsgi.py ※新規作成 「def application・・・」
                   /mysite/asgi.py
                          /__init__.py
                          /settings.py
                          /urls.py
                          /uwsgi.ini ※新規作成
                          /wsgi.py
というファイル構成になりました。
uWSGI 自動起動
# vi /etc/systemd/system/uwsgi.service

[Unit]
Description=uwsgi
After=network.target

[Service]
Type=simple
RemainAfterExit=yes
ExecStart=/home/test02/venv/bin/uwsgi --ini /home/test02/mysite/mysite/uwsgi.ini
Restart=always
KillSignal=SIGQUIT

[Install]
WantedBy=multi-user.target
# /home/test02/mysite/mysite/uwsgi.ini

[uwsgi]
chdir = /home/test02/mysite/
module = wsgi:application


master = true
processes = 5

wsgi-file = /home/test02/mysite/mysite/wsgi.py

uid = test02
gid = test02

enable-threads = true
threads = 8

http=0.0.0.0:8080
# systemctl start uwsgi
# systemctl status uwsgi
● uwsgi.service - uwsgi
   Loaded: loaded (/etc/systemd/system/uwsgi.service; disabled; vendor preset: disabled)
   Active: active (running) since XXX XXXX-XX-XX 15:40:54 JST; 19min ago
 Main PID: 5685 (uwsgi)
    Tasks: 42 (limit: 11403)
   Memory: 30.8M
   CGroup: /system.slice/uwsgi.service
           ├─5685 /home/test02/venv/bin/uwsgi --ini /home/test02/mysite/mysite/uwsgi.ini
           ├─5686 /home/test02/venv/bin/uwsgi --ini /home/test02/mysite/mysite/uwsgi.ini
           ├─5687 /home/test02/venv/bin/uwsgi --ini /home/test02/mysite/mysite/uwsgi.ini
           ├─5688 /home/test02/venv/bin/uwsgi --ini /home/test02/mysite/mysite/uwsgi.ini
           ├─5689 /home/test02/venv/bin/uwsgi --ini /home/test02/mysite/mysite/uwsgi.ini
           ├─5690 /home/test02/venv/bin/uwsgi --ini /home/test02/mysite/mysite/uwsgi.ini
           └─5691 /home/test02/venv/bin/uwsgi --ini /home/test02/mysite/mysite/uwsgi.ini

uwsgi[5685]: mountpoint  already configured. skip.
uwsgi[5685]: *** uWSGI is running in multiple interpreter mode ***
uwsgi[5685]: spawned uWSGI master process (pid: 5685)
uwsgi[5685]: spawned uWSGI worker 1 (pid: 5686, cores: 8)
uwsgi[5685]: spawned uWSGI worker 2 (pid: 5687, cores: 8)
uwsgi[5685]: spawned uWSGI worker 3 (pid: 5688, cores: 8)
uwsgi[5685]: spawned uWSGI worker 4 (pid: 5689, cores: 8)
↑自動起動ができました。
nginxとの連携 uWSGI
http proxy
# /home/test02/mysite/mysite/uwsgi.ini

[uwsgi]
chdir = /home/test02/mysite/
module = wsgi:application

master = true
processes = 5

wsgi-file = /home/test02/mysite/mysite/wsgi.py

uid = test02
gid = test02

enable-threads = true
threads = 8

http=0.0.0.0:8080 ※
↑ ※部分が、proxyの接続設定です。
http {
    server {
        listen       80;
        server_name  localhost;

        location / {
            root   html;
            include uwsgi_params; ※
            proxy_pass http://127.0.0.1:8080; ※
            index  index.html index.htm;
        }
    }

}
↑Nginx の設定。※の2行を追加します。
wsgiプロトコル
# /home/test02/mysite/mysite/uwsgi.ini

[uwsgi]
chdir = /home/test02/mysite/
module = wsgi:application

master = true
processes = 5

wsgi-file = /home/test02/mysite/mysite/wsgi.py

uid = test02
gid = test02

enable-threads = true
threads = 8

socket=127.0.0.1:3031 ※
↑上記、※部分が、wsgiプロトコルの設定です
http {
    server {
        listen       80;
        server_name  localhost;

        location / {
            root   html;
            include uwsgi_params; ※
            uwsgi_pass 127.0.0.1:3031; ※
            index  index.html index.htm;
        }
    }
}
↑Nginx の設定。※の2行を追加します。
ソケット
# mkdir -p /run/uwsgi
# chown test02:test02 /run/uwsgi
↑上記、/run/以下に、手動で作成したファイルは、再起動を消えてしまう。
消失回避のため、自動作成の設定をします。↓
vi /etc/tmpfiles.d/uwsgi.conf

#Type   Path                    Mode    UID     GID   Age  Argument
d       /run/uwsgi      0755    test02  test02  -
↑1行目は、記述しなくても大丈夫ですが、メンテナンスを考慮して入れましょう
「uwsgi.conf」というファイル名は、任意。わかりやすい名前にしましょう。
2行目の項目の間は、タブでもスペースでも大丈夫。
# /home/test02/mysite/mysite/uwsgi.ini

[uwsgi]
chdir = /home/test02/mysite/
module = wsgi:application

master = true
processes = 5

wsgi-file = /home/test02/mysite/mysite/wsgi.py

uid = test02
gid = test02

enable-threads = true
threads = 8

socket=/run/uwsgi/uwsgi.sock ※
chmod-socket = 666 ※
↑※部分、/tmp/(socket=/tmp/uwsgi.sock)では、動作しない
http {
    server {
        listen       80;
        server_name  localhost;

        location / {
            root   html;
            include uwsgi_params; ※
            uwsgi_pass unix:/run/uwsgi/uwsgi.sock; ※
            index  index.html index.htm;
        }
    }

}
↑Nginxの設定。※部分を設定します。
一般的に最後の「ソケット」での接続が、高速でいいとされています。