本格的にブルートフォースアタックを防ごうとすると、高価な機器が必要ですが、「予算的に厳しい」「規模が大きくない」といった場合、無料で利用できる、fail2banを利用するのがいいのかと思います。
fail2ban インストール
今回、CentOS7に、yumでインストールをします。
# yum install fail2ban
Loaded plugins: fastestmirror, langpacks
Loading mirror speeds from cached hostfile
 * base: ftp.iij.ad.jp
 * epel: nrt.edge.kernel.org
 * epel-debuginfo: nrt.edge.kernel.org
 * epel-source: nrt.edge.kernel.org
 * extras: ftp.iij.ad.jp
 * updates: ftp.iij.ad.jp
Resolving Dependencies
--> Running transaction check
---> Package fail2ban.noarch 0:0.11.1-10.el7 will be installed
--> Processing Dependency: fail2ban-firewalld = 0.11.1-10.el7 for package: fail2ban-0.11.1-10.el7.noarch
--> Processing Dependency: fail2ban-sendmail = 0.11.1-10.el7 for package: fail2ban-0.11.1-10.el7.noarch
--> Processing Dependency: fail2ban-server = 0.11.1-10.el7 for package: fail2ban-0.11.1-10.el7.noarch
--> Running transaction check
---> Package fail2ban-firewalld.noarch 0:0.11.1-10.el7 will be installed
---> Package fail2ban-sendmail.noarch 0:0.11.1-10.el7 will be installed
---> Package fail2ban-server.noarch 0:0.11.1-10.el7 will be installed
--> Finished Dependency Resolution

Dependencies Resolved

============================================================================================================================================================================================
 Package                                              Arch                                     Version                                         Repository                              Size
============================================================================================================================================================================================
Installing:
 fail2ban                                             noarch                                   0.11.1-10.el7                                   epel                                    15 k
Installing for dependencies:
 fail2ban-firewalld                                   noarch                                   0.11.1-10.el7                                   epel                                    16 k
 fail2ban-sendmail                                    noarch                                   0.11.1-10.el7                                   epel                                    18 k
 fail2ban-server                                      noarch                                   0.11.1-10.el7                                   epel                                   445 k

Transaction Summary
============================================================================================================================================================================================
Install  1 Package (+3 Dependent packages)

Total download size: 494 k
Installed size: 1.4 M
Is this ok [y/d/N]:

(略)

Installed:
  fail2ban.noarch 0:0.11.1-10.el7

Dependency Installed:
  fail2ban-firewalld.noarch 0:0.11.1-10.el7                      fail2ban-sendmail.noarch 0:0.11.1-10.el7                      fail2ban-server.noarch 0:0.11.1-10.el7

Complete!
↑ 「fail2ban」をインストールすると、「fail2ban-firewalld 」「fail2ban-sendmail」「fail2ban-server」も一緒にインストールされます。
# repoquery --list fail2ban-firewalld
/etc/fail2ban/jail.d/00-firewalld.conf
↑ fail2ban-firewalld のパッケージは、firewalld自体ではなく、firewalldとの連携ファイルになります。
# repoquery --list fail2ban-sendmail
/etc/fail2ban/action.d/sendmail-buffered.conf
/etc/fail2ban/action.d/sendmail-common.conf
/etc/fail2ban/action.d/sendmail-geoip-lines.conf
/etc/fail2ban/action.d/sendmail-whois-ipjailmatches.conf
/etc/fail2ban/action.d/sendmail-whois-ipmatches.conf
/etc/fail2ban/action.d/sendmail-whois-lines.conf
/etc/fail2ban/action.d/sendmail-whois-matches.conf
/etc/fail2ban/action.d/sendmail-whois.conf
↑ 同様に、「fail2ban-sendmail」はメール送信関係の設定ファイル。
# repoquery --list fail2ban-server
/etc/fail2ban
/etc/logrotate.d/fail2ban
/run/fail2ban
/run/fail2ban/fail2ban.pid
/usr/bin/fail2ban-client
/usr/bin/fail2ban-python
/usr/bin/fail2ban-regex
/usr/bin/fail2ban-server
/usr/lib/python2.7/site-packages/fail2ban
↑ そして、「fail2ban-server」は、fail2banの本体で、上記のディレクトリ以下にファイルを作成、もしくは、ファイル自体を作成します。
# fail2ban-client version
0.11.1
↑version「0.11.1」がインストールされました

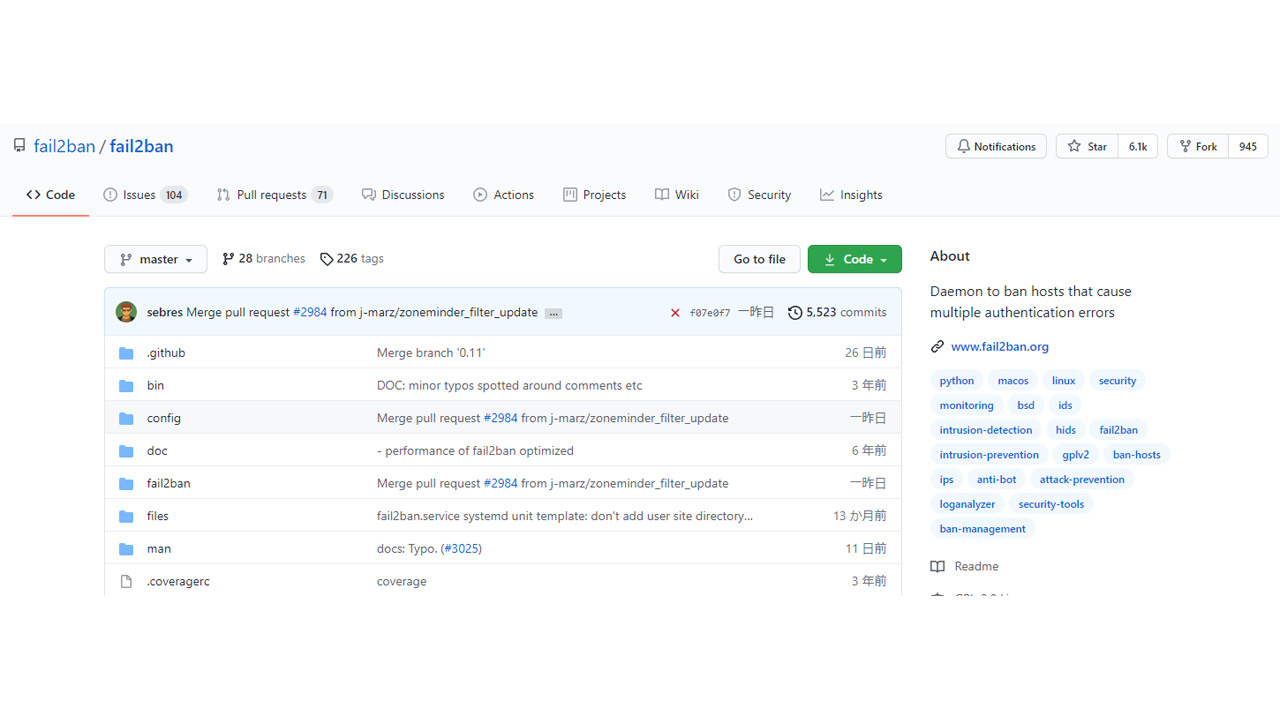
によると、最新版は、
ver. 0.11.2 (2020/11/23)
であり、yumで、インストールされるのは、
ver. 0.11.1 (2020/01/11)
のバージョンのようです。
マニュアルでインストールする場合は、
の下の方に書かれています。
Since v0.10 fail2ban supports the matching of IPv6 addresses.
↑と、0.1のバージョンから、ipv6もサポートされています。
fail2ban起動
# systemctl status fail2ban
● fail2ban.service - Fail2Ban Service
   Loaded: loaded (/usr/lib/systemd/system/fail2ban.service; disabled; vendor preset: disabled)
   Active: inactive (dead)
     Docs: man:fail2ban(1)
↑fail2banは、起動されていません
# systemctl start fail2ban
# systemctl status fail2ban
● fail2ban.service - Fail2Ban Service
   Loaded: loaded (/usr/lib/systemd/system/fail2ban.service; disabled; vendor preset: disabled)
   Active: active (running) since Fri 2021-XX-XX XX:XX:XX JST; 1s ago
     Docs: man:fail2ban(1)
  Process: 2239 ExecStartPre=/bin/mkdir -p /run/fail2ban (code=exited, status=0/SUCCESS)
 Main PID: 2241 (f2b/server)
   CGroup: /system.slice/fail2ban.service
           └─2241 /usr/bin/python2 -s /usr/bin/fail2ban-server -xf start

systemd[1]: Starting Fail2Ban Service...
systemd[1]: Started Fail2Ban Service.
fail2ban-server[2241]: Server ready
↑起動されました
# ps ax |grep fail2
 2241 ?        Ssl    0:00 /usr/bin/python2 -s /usr/bin/fail2ban-server -xf start
 2248 pts/0    S+     0:00 grep --color=auto fail2
↑プロセスが起動をしています。python2で稼働していることがわかります。
sshdを監視
# fail2ban-client status sshd
2021-XX-XX XX:XX:XX,819 fail2ban                [2320]: ERROR   NOK: ('sshd',)
Sorry but the jail 'sshd' does not exist
↑sshdは、監視の設定されていないです
設定変更は
/etc/fail2ban/jail.conf
を変更するのではなく、
/etc/fail2ban/jail.local
というファイルに変更内容を書きます。
設定が上書きされます。
# vi /etc/fail2ban/jail.local


[DEFAULT]
destemail = (宛先アドレス)
# (宛先アドレス)
# banした結果を通知するメールアドレス

[sshd]
enabled = true
bantime  = 600
findtime  = 30
maxretry = 5
↑30(findtime)秒の間に、5(maxretry)回の攻撃的なアクセスがったら、600秒(10分)(bantime)アクセス停止(遮断)という感じで書きます。
# systemctl restart fail2ban

# fail2ban-client status
Status
|- Number of jail:      1
`- Jail list:   sshd
↑「sshd」が設定されています
# fail2ban-client status sshd
Status for the jail: sshd
|- Filter
|  |- Currently failed: 0
|  |- Total failed:     0
|  `- Journal matches:  _SYSTEMD_UNIT=sshd.service + _COMM=sshd
`- Actions
   |- Currently banned: 0
   |- Total banned:     0
   `- Banned IP list:
↑sshd が監視対象となりました
sshd検証
# ssh XXX.XXX.XXX.XXX
[email protected]'s password:
Permission denied, please try again.
[email protected]'s password:
Permission denied, please try again.
[email protected]'s password:
Permission denied (publickey,gssapi-keyex,gssapi-with-mic,password).
↑と不正ログインを他のサーバーからsshにて試みてみます。
# ssh XXX.XXX.XXX.XXX
ssh: connect to host XXX.XXX.XXX.XXX port 22: Connection refused
↑すると、拒否されました(banされました)
# fail2ban-client status sshd
Status for the jail: sshd
|- Filter
|  |- Currently failed: 0
|  |- Total failed:     3
|  `- Journal matches:  _SYSTEMD_UNIT=sshd.service + _COMM=sshd
`- Actions
   |- Currently banned: 1
   |- Total banned:     1
   `- Banned IP list:   ZZZ.ZZZ.ZZZ.ZZZ
↑ fail2banをインストールしたサーバーでチェックすると、「ZZZ.ZZZ.ZZZ.ZZZ」から攻撃を受けたので、 「Banned IP list」に加わりました。
ftpd (proftpd)を監視対象に
# vi /etc/fail2ban/jail.local

[DEFAULT]
destemail = (宛先アドレス)

bantime  = 600
findtime  = 30
maxretry = 5

[sshd]
enabled = true

[proftpd]
enabled = true
↑sshの他に「proftpd」も、監視対象にします。
bantime  = 600
findtime  = 30
maxretry = 5
を[DEFAULT」のところに記述すると、共通の設定となります。
各種サービスの設定
sshやproftpなどは、基本的な設定がされていますので、最低限の設定で、ブルーフォースアタックの監視をしてくれます。
/etc/fail2ban/filter.d/proftpd.conf
↑ proftpdのフィルター関係が設定されています。
/etc/fail2ban/jail.conf
に
[proftpd]

port     = ftp,ftp-data,ftps,ftps-data
logpath  = %(proftpd_log)s
backend  = %(proftpd_backend)s
という設定もあります。
もし、proftpdの監視ポートに変更がある場合は
# vi /etc/fail2ban/jail.local
に
[proftpd]

port     = ××××××
として、設定を上書きします。
/etc/fail2ban/jail.local
の設定が上書きされます。
再犯者用設定
しつこく、アタックしてくるサーバーには、より強い遮断をします。
[recidive]
という設定にて、banする期間を長くします。
# fail2ban-client status recidive
2021-XX-XX XX:XX:XX,702 fail2ban                [11281]: ERROR   NOK: ('recidive',)
Sorry but the jail 'recidive' does not exist
↑ 今は、有効ではないです
# vi /etc/fail2ban/jail.local

[recidive]
enabled = true
↑と、設定を加えて、fail2banを再起動します。
# fail2ban-client status recidive
Status for the jail: recidive
|- Filter
|  |- Currently failed: 4
|  |- Total failed:     7
|  `- File list:        /var/log/fail2ban.log
`- Actions
   |- Currently banned: 0
   |- Total banned:     0
   `- Banned IP list:
↑recidiveが有効になりました。
/etc/fail2ban/jail.conf
には
[recidive]

logpath  = /var/log/fail2ban.log
banaction = %(banaction_allports)s
bantime  = 1w
findtime = 1d
↑ findtime(1d=1日)に、maxretry(5回)、fail2banで、banされたら、bantime(1w=1週間)banされる
という記述があります。「maxretry」の項目は書かれていませんが、
/etc/fail2ban/jail.conf
の
[DEFAULT]
のところに
maxretry = 5
と書かれているので、これが、有効となります。
メール通知
[DEFAULT]
destemail = (宛先メール)

bantime  = 600
findtime  = 30
maxretry = 5

[sshd]
enabled = true
action = %(action_mw)s

[proftpd]
enabled = true

[recidive]
↑と書くと、「sshd」で、banされた場合は、メールが届きます。「action=」の部分です。
action = %(action_mw)s
と書くと
Hi,

The IP XXX.XXX.XXX.XXX has just been banned by Fail2Ban after
5 attempts against sshd.


Here is more information about XXX.XXX.XXX.XXX :

missing whois program

Regards,

Fail2Ban
↑ というメールが届きます。「XXX.XXX.XXX.XXX」が、banされたIPアドレスです。
action = %(action_mwl)s
と書くと、ログの記録も付け加えられます。
Hi,

The IP XXX.XXX.XXX.XXX has just been banned by Fail2Ban after
5 attempts against sshd.


Here is more information about XXX.XXX.XXX.XXX :
missing whois program

Lines containing failures of XXX.XXX.XXX.XXX (max 1000)
May XX XX:XX:XX sshd[3290]: Invalid user xxx from XXX.XXX.XXX.XXX port 47471
May XX XX:XX:XX sshd[3290]: Failed password for invalid user xxx from XXX.XXX.XXX.XXX port 47471 ssh2
May XX XX:XX:XX sshd[3290]: Failed password for invalid user xxx from XXX.XXX.XXX.XXX port 47471 ssh2


Regards,

Fail2Banという感じでメールが届きます。