新しいAMIイメージ「Amazon Linux 2」をベースにゼロから、「PHP for Lambda」な
サーバーレス環境 samを作りたいと思います。
AWS Lambdaとは
https://aws.amazon.com/jp/lambda/
EC2などのサーバー環境を考えずに、プログラムコードだけを配置するだけで、プログラムが動きます。
使っていないときは料金がかかりません。プログラムが動作するミリ秒単位で課金されます。
処理の重たいときには、自動的にスケールアップされます。
AWS samとは
AWS SAMとは、「AWS Serverless Application Model」の略で、サーバーレスな環境を構築するためのフレームワークの事です。
Lambda,API Gateway,DynamoDBなどを管理できます。
そして、「AWS CloudFormation」の拡張版でもあります。
AWS sam CLI とは
今回、samを利用するにあたり、CLI(Command Line Interface)を利用します。
Windows,Linux,Macなどのコマンドラインから、AWSの環境を構築します。
Amazon Linux 2 初期設定
# yum update
# yum groupinstall "Development Tools"
↑ライブラリなどの初期設定をします。
# amazon-linux-extras install epel
# yum install http://rpms.famillecollet.com/enterprise/remi-release-7.rpm
# yum install php71
↑php 7.1を入れます。
# curl -kL https://bootstrap.pypa.io/get-pip.py | python
# pip --version
pip 18.1 from /usr/lib/python2.7/site-packages/pip (python 2.7)
↑ pipが入りました。
AWS sam CLI インストール
# pip install --user aws-sam-cli
# python -m site --user-base
/root/.local
「/root/.local」と返ってきます。
上記の
/root/.lcoal
に「/bin/」を加えて、環境変数PATHに加えます。
# vi ~/.bash_profile

PATH=$PATH:$HOME/bin
 ↓
PATH=$PATH:$HOME/bin:/root/.local/bin

# source ~/.bash_profile
↑.bash_profileの「PATH」を変更して、「source」コマンドで再読み込みをします。
# sam --version
SAM CLI, version 0.8.1
↑ AWS SAM CLIが入りました。
Lambda用プロファイルの登録
AWS Iamで、Lambda用のプロファイルを作成します。
S3のフルアクセスで、設定をします。
「AWS Access Key ID」
「AWS Secret Access Key」
を、aws コマンドで設定します。
# aws configure --profile (プロファイル名)
AWS Access Key ID [None]: (AWS Access Key ID)
AWS Secret Access Key [None]: (AWS Secret Access Key)
Default region name [None]: ap-northeast-1
Default output format [None]:
↑リージョンは、東京「ap-northeast-1」を指定します。
S3 バケット登録
#  aws s3 mb s3://(バケット名) --region ap-northeast-1 --profile (プロファイル名)
make_bucket failed: s3://(バケット名) An error occurred (BucketAlreadyExists) when calling the CreateBucket operation: The requested bucket name is not available. The bucket namespace is shared by all users of the system. Please select a different name and try again.
↑バケット名を指定しますが、世界で一意でなければいけません。既に使われているバケット名だと上記のようにエラーになります。
「–profile」で「プロファイル名」を指定します。
デフォルトで指定する方法や、環境変数で指定する方法もありますが、次回の機会に。
#  aws s3 mb s3://(バケット名) --region ap-northeast-1 --profile (プロファイル名)
make_bucket: (バケット名)
↑ と、登録されました。
Lambda 登録
# mkdir aswstest
# cd aswstest
https://github.com/stackery/php-lambda-layer
にあるtemplate.yamlを、そのまま使います。
# vi template.yaml
----------------------------------------------------------
AWSTemplateFormatVersion: 2010-09-09
Description: My PHP Application
Transform: AWS::Serverless-2016-10-31
Resources:
  phpserver:
    Type: AWS::Serverless::Function
    Properties:
      FunctionName: !Sub ${AWS::StackName}-phpserver
      Description: PHP Webserver
      CodeUri: src/server
      Runtime: provided
      Handler: index.php
      MemorySize: 3008
      Timeout: 30
      Tracing: Active
      Layers:
        - !Sub arn:aws:lambda:${AWS::Region}:887080169480:layer:php71:3
      Events:
        api:
          Type: Api
          Properties:
            Path: /{proxy+}
            Method: ANY
----------------------------------------------------------
# mkdir src
# cd src
# mkdir server
# cd server
# vi index.php
----------------------------------------------------------
Hello World! You've reached <!--?php print($_SERVER['REQUEST_URI']); ?-->
----------------------------------------------------------
↑上記が、実行するPHPです。
# cd ../../
# sam package --template-file template.yaml --output-template-file serverless-output.yaml --s3-bucket (バケット名) --profile (プロファイル名)
Execute the following command to deploy the packaged template
aws cloudformation deploy --template-file /root/aswstest/serverless-output.yaml --stack-name <YOUR STACK NAME>
↑パッケージ化されました。
# sam deploy --template-file /root/aswstest/serverless-output.yaml
  --stack-name (バケット名) --profile  (プロファイル名) --capabilities CAPABILITY_IAM
↑deployします。
An error occurred (AccessDenied) when calling the CreateChangeSet operation:
User: arn:aws:iam::xxxxxx:user/xxxxxx is not authorized to perform:
cloudformation:CreateChangeSet on resource:
arn:aws:cloudformation:ap-northeast-1:xxxxxx:stack/(バケット名)/*
というエラーが出ました。
「cloudformation:CreateChangeSet」
をしようとしたが、指定のプロファイル名では、「権限が無いよ」という事です。
ポリシーの作成
Iamにて
AWSCloudFormationPolicy
という名称で、ポリシーを登録します。
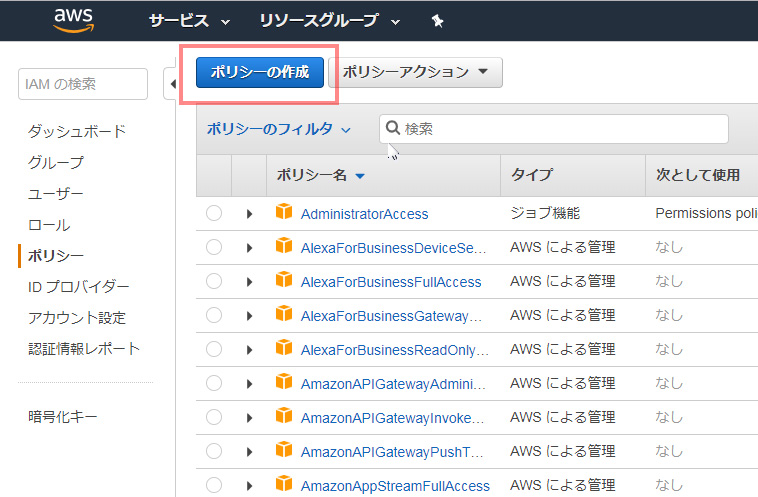
↑「Iam」の画面で、「ポリシー」「ポリシーの作成」を選びます。
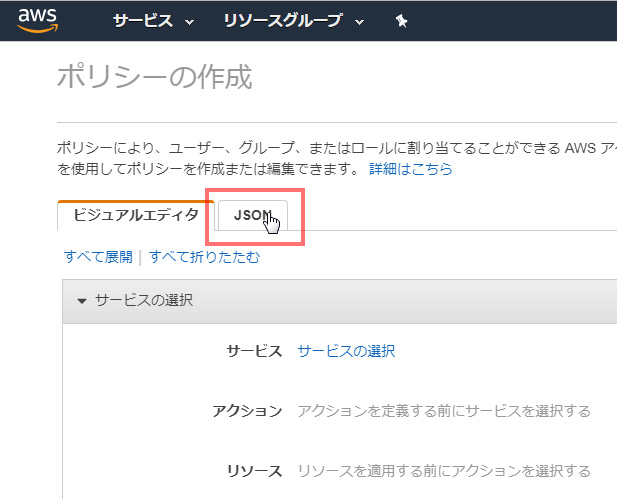
↑「JSON」のタブを選びます。
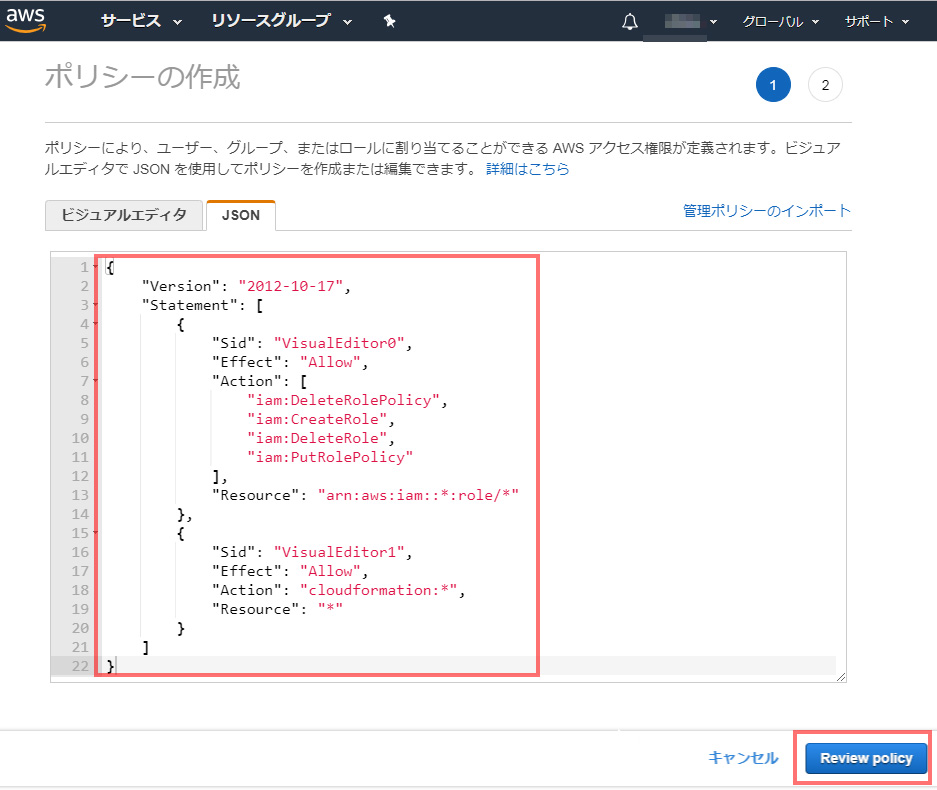
↑上記の赤枠に、↓下記のJOSNを貼り付けます。
{
    "Version": "2012-10-17",
    "Statement": [
        {
            "Sid": "VisualEditor0",
            "Effect": "Allow",
            "Action": [
                "iam:DeleteRolePolicy",
                "iam:CreateRole",
                "iam:DeleteRole",
                "iam:PutRolePolicy"
            ],
            "Resource": "arn:aws:iam::*:role/*"
        },
        {
            "Sid": "VisualEditor1",
            "Effect": "Allow",
            "Action": "cloudformation:*",
            "Resource": "*"
        }
    ]
}
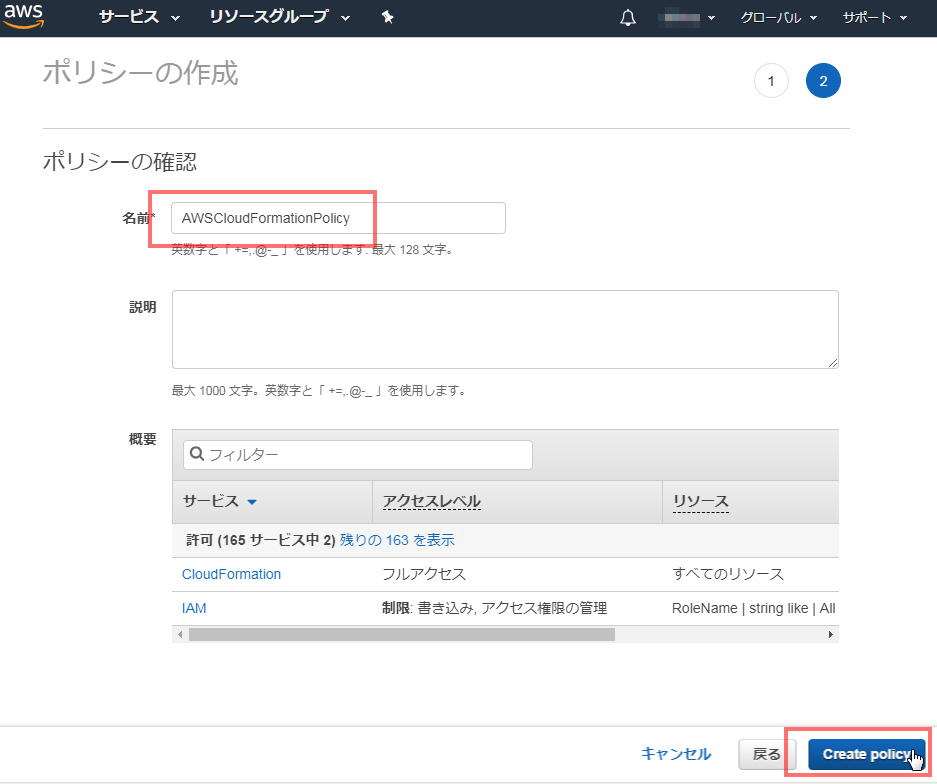
↑名前を決めて、「Create policy」を押します。
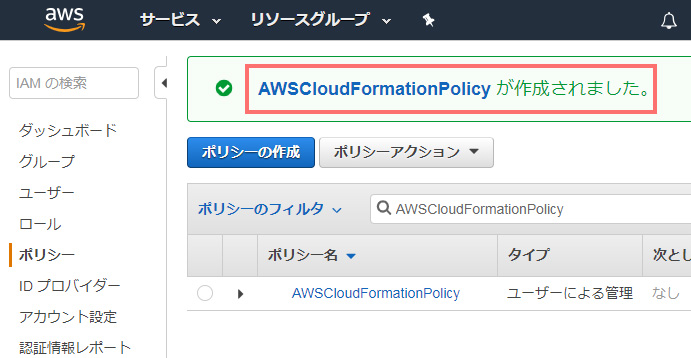
↑Policyが作成されました。
ポリシーをアタッチ
(プロファイル名)で指定したIamユーザにアタッチします。
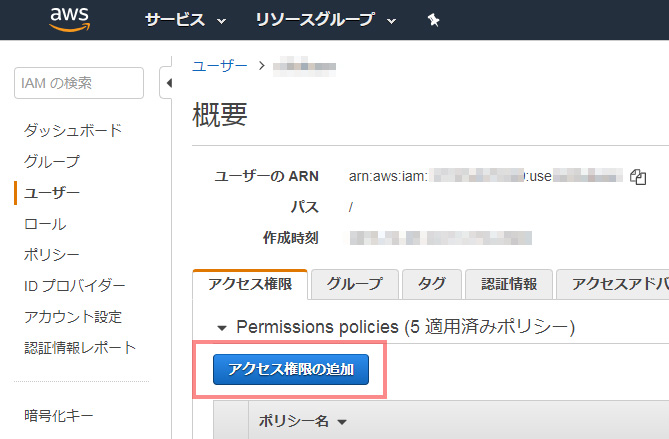
↑プロファイル名で指定したユーザの「アクセス権限の追加」というボタンを押します。
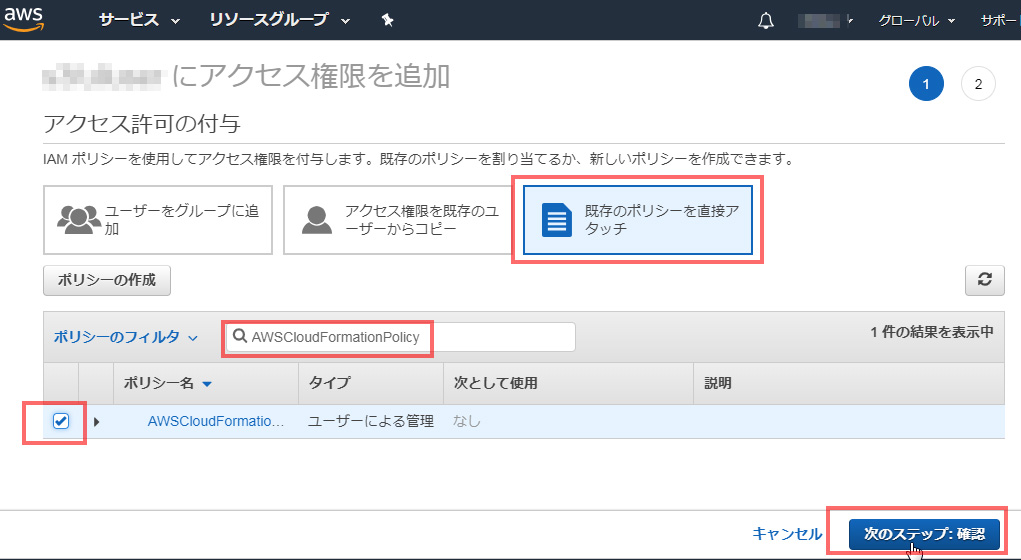
↑右上、「既存のポリシーを直接アタッチ」を選び、「ポリシーのフィルタ」の横にポリシー名を入れて、出てきたポリシーをチェックし、右下の「次のステップ:確認」を選びます。
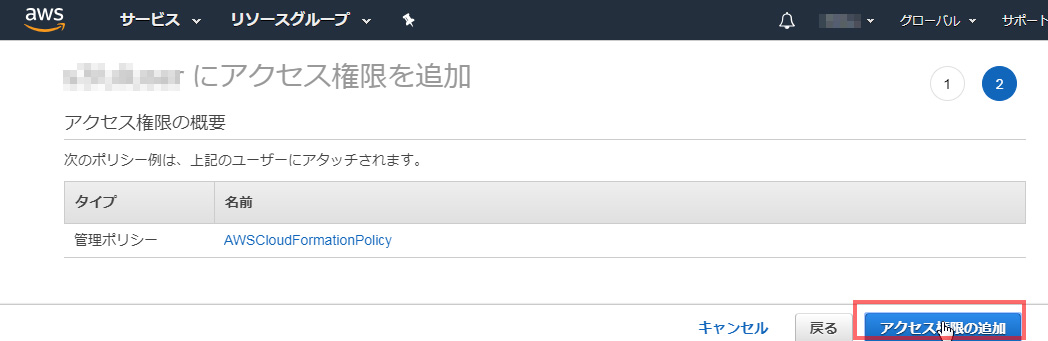
↑「アクセス権限の追加」を選びます。

↑アタッチされました。
deployのエラー
# sam deploy --template-file /root/aswstest/serverless-output.yaml --stack-name (バケット名) --profile (プロファイル名) --capabilities CAPABILITY_IAM
↑再度、deployします。
Waiting for changeset to be created..
Waiting for stack create/update to complete

Failed to create/update the stack. Run the following command
to fetch the list of events leading up to the failure
aws cloudformation describe-stack-events --stack-name (バケット名)
↑「Failed」となり、失敗
# aws cloudformation describe-stack-events –stack-name (バケット名)
というコマンドで、詳細をみてね。
というメッセージ。
CLIのコマンドラインでみるより、画面で、見た方がいいかもしれません。
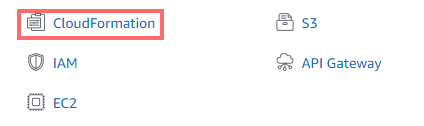
↑「CloudFormation」に入ります。
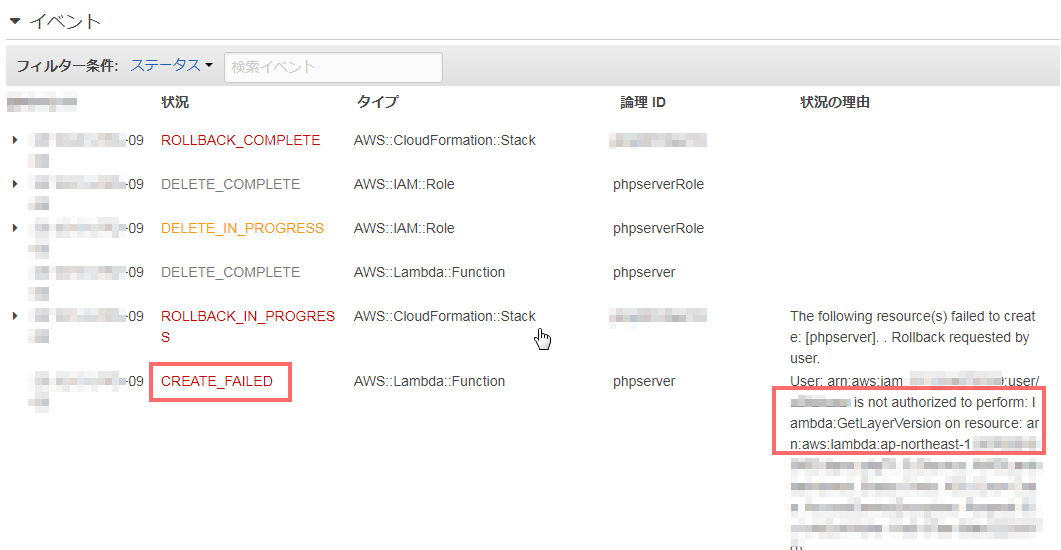
↑エラーになっているとこの右側のメッセージを、よーく見ます。
図とは、違いますが、
is not authorized to perform: iam:DetachRolePolicy
というエラーメッセージが出ていました。
さきほどの
AWSCloudFormationPolicy
のポリシーに、
iam:DetachRolePolicy
を加えます。
そのほか、たくさんエラーが出ました(汗)
is not authorized to perform: iam:AttachRolePolicy
AccessDenied. User doesn't have permission to call iam:GetRole
is not authorized to perform: lambda:GetFunction
is not authorized to perform: lambda:CreateFunction
is not authorized to perform: iam:PassRole
is not authorized to perform: lambda:GetLayerVersion
is not authorized to perform: apigateway:POST
is not authorized to perform: lambda:DeleteFunction
ポリシーの追加
結局
AWSCloudFormationPolicy
{
    "Version": "2012-10-17",
    "Statement": [
        {
            "Sid": "VisualEditor0",
            "Effect": "Allow",
            "Action": [
                "iam:DeleteRolePolicy",
                "iam:CreateRole",
                "iam:DeleteRole",
                "iam:PutRolePolicy"
            ],
            "Resource": "arn:aws:iam::*:role/*"
        },
        {
            "Sid": "VisualEditor1",
            "Effect": "Allow",
            "Action": "cloudformation:*",
            "Resource": "*"
        }
    ]
}

apigateAdminPolicy
{
    "Version": "2012-10-17",
    "Statement": [
        {
            "Sid": "Stmt1467321765000",
            "Effect": "Allow",
            "Action": [
                "apigateway:*"
            ],
            "Resource": [
                "*"
            ]
        }
    ]
}

AmazonS3FullAccess (既存のポリシー)

lambdaAdminPolicy
{
    "Version": "2012-10-17",
    "Statement": [
        {
            "Action": [
                "lambda:*"
            ],
            "Resource": "*",
            "Effect": "Allow"
        }
    ]
}
と、4つのポリシーが必要でした。
再度、deploy
sam deploy --template-file /root/aswstest/serverless-output.yaml --stack-name (バケット名)--profile (プロファイル名) --capabilities CAPABILITY_IAM

Waiting for changeset to be created..
Waiting for stack create/update to complete
Successfully created/updated stack - (バケット名)
↑deploy、成功をしました。
phpプログラムへのアクセス
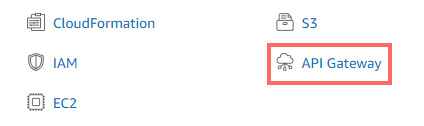
↑API gatewayからアクセスをします。
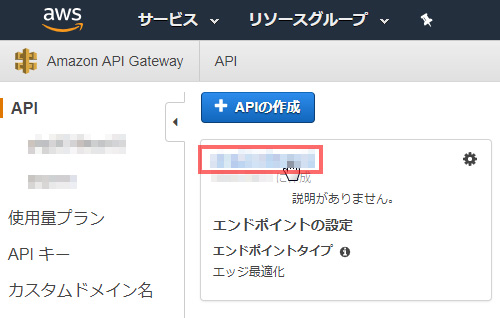
↑deployした、APIをクリックします。
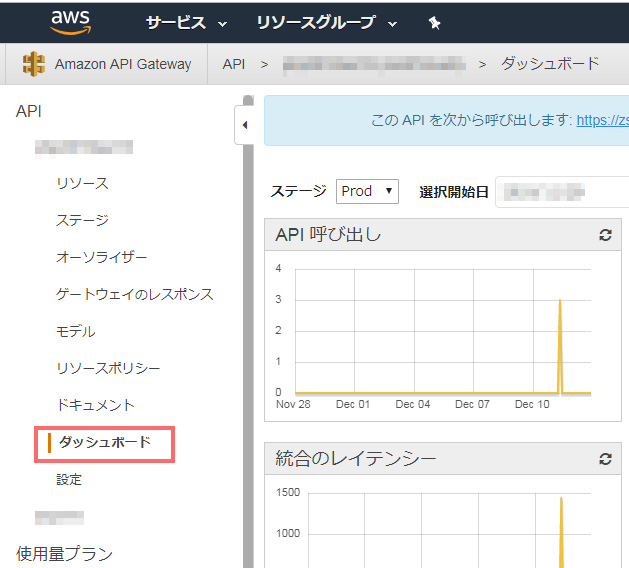
↑「ダッシュボード」を選びます。

↑「このAPIを次から呼び出します」というところのURLをクリックします。

↑URLに「index.php」を加えて、アクセスします。
すると、設置したPHPが動作します。
PHP for Lambda 結論
「PHP for Lambda」は、最初は、時間がかかるかもしれません。
サーバーレスであるので、サーバー利用料を削減できる可能性が高くなります。
節約できるのであれば、節約をしたほうがイイですね。
サーバーレスのLamdaをもっと勉強して、楽しいクラウド生活を送りたい思います!